If you’re a proud owner of a wooden coop, then you’ll want to make sure it remains sturdy and rot-free for years to come. The last thing you want is for your feathered friends to face a soggy living situation. Fortunately, by taking a few proactive steps, you can ensure the water-resistance of your coop and keep rot at bay. From choosing the right wood and sealant to proper ventilation and regular maintenance, this article will provide you with all the valuable tips and tricks to make your wooden coop a durable and cozy home for your cherished chickens.
Choosing the Right Wood
Durable Wood Species
When it comes to building a wooden coop, choosing the right type of wood is crucial for ensuring its durability and resistance to rot. Some wood species are naturally more resistant to water damage and decay than others. Durable wood species, such as cypress, teak, and mahogany, are excellent choices for constructing a coop that will withstand the test of time. These woods have natural oils and resins that make them resistant to rot, fungal growth, and insect infestation, making them ideal for outdoor structures.
Pressure-treated Wood
Another option to consider is pressure-treated wood. This type of wood undergoes a treatment process that involves infusing it with chemicals to enhance its resistance to rot, decay, and insect damage. Pressure-treated wood is typically more affordable than other durable wood species and can last for many years with proper care. However, it’s important to note that the chemicals used in the treatment process may not be suitable for certain livestock or food-producing animals.
Cedar or Redwood
For a combination of durability, natural resistance to decay, and a beautiful aesthetic, cedar and redwood are excellent choices. These woods contain natural oils and tannins that make them highly resistant to rot, insect damage, and fungal growth. Cedar and redwood also have a pleasant aroma that can naturally repel insects. While cedar and redwood may be more expensive than other wood options, their longevity and resistance to water damage make them a wise investment for your coop.
Proper Construction Techniques
Sealing Joints and Edges
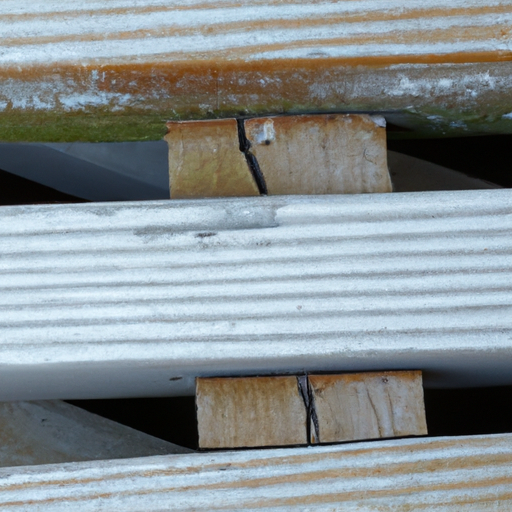
One of the key factors in preventing water damage and rot in wooden coops is ensuring that all joints and edges are properly sealed. This involves using a high-quality exterior-grade caulking or sealant to fill any gaps or cracks where water could penetrate. Pay particular attention to areas where different pieces of wood meet, such as corners and joints. By sealing these vulnerable areas, you create a barrier against moisture and reduce the risk of rot and deterioration.
Sloping Roof
Another essential construction technique to consider is designing your coop with a sloping roof. A sloping roof allows rainwater to easily run off and prevents pooling, which can lead to leaks and water damage. The angle of the slope should be sufficient to allow effective water drainage but not too steep that it compromises the stability of the structure. By incorporating a properly sloped roof, you can minimize the risk of water infiltration and maintain a dry and comfortable environment for your birds.
Elevating the Coop
Elevating your coop off the ground is an effective way to prevent rot caused by direct ground contact and moisture absorption. This can be achieved by using sturdy legs or a platform to lift the coop above the ground. Elevating the coop allows for better air circulation and helps prevent water from seeping into the structure. Additionally, it discourages pests and rodents from making their way into the coop, reducing the risk of damage and infestation.
Effective Coating and Sealing
Using Exterior Paint or Stain
Applying a protective coating on the exterior of your wooden coop is crucial for ensuring its longevity and resistance to water damage. Exterior paint or stain acts as a barrier between the wood and the elements, preventing moisture from penetrating the surface. Choose a high-quality exterior-grade paint or stain that is specifically designed for outdoor use. Make sure to apply multiple coats and follow the manufacturer’s instructions for proper application and drying times. A well-applied coat of paint or stain will not only enhance the appearance of your coop but also provide essential protection against rot, mildew, and UV damage.
Applying Water-Repellent Sealants
In addition to paint or stain, applying a water-repellent sealant can provide an extra layer of protection for your wooden coop. Water-repellent sealants are designed to penetrate the wood fibers, forming a protective barrier that prevents moisture from being absorbed. These sealants can be applied after painting or staining the wood and should be reapplied periodically to ensure continuous water resistance. Look for sealants that are specifically formulated for outdoor use and choose a product that is compatible with the type of wood you are using.
Weatherproofing Techniques
Incorporating weatherproofing techniques into the construction of your wooden coop can significantly enhance its water-resistance and reduce the risk of rot. This can include adding additional layers of protection, such as tar paper or a moisture barrier, underneath the exterior cladding. These materials help to further prevent water infiltration and create a shield against moisture damage. Additionally, ensuring that all seams and joints are properly sealed and reinforced can help fortify the coop against the elements. Regularly inspecting and maintaining these weatherproofing measures will ensure long-lasting water-resistance and structural integrity.
Maintaining Good Ventilation
Installing Vents
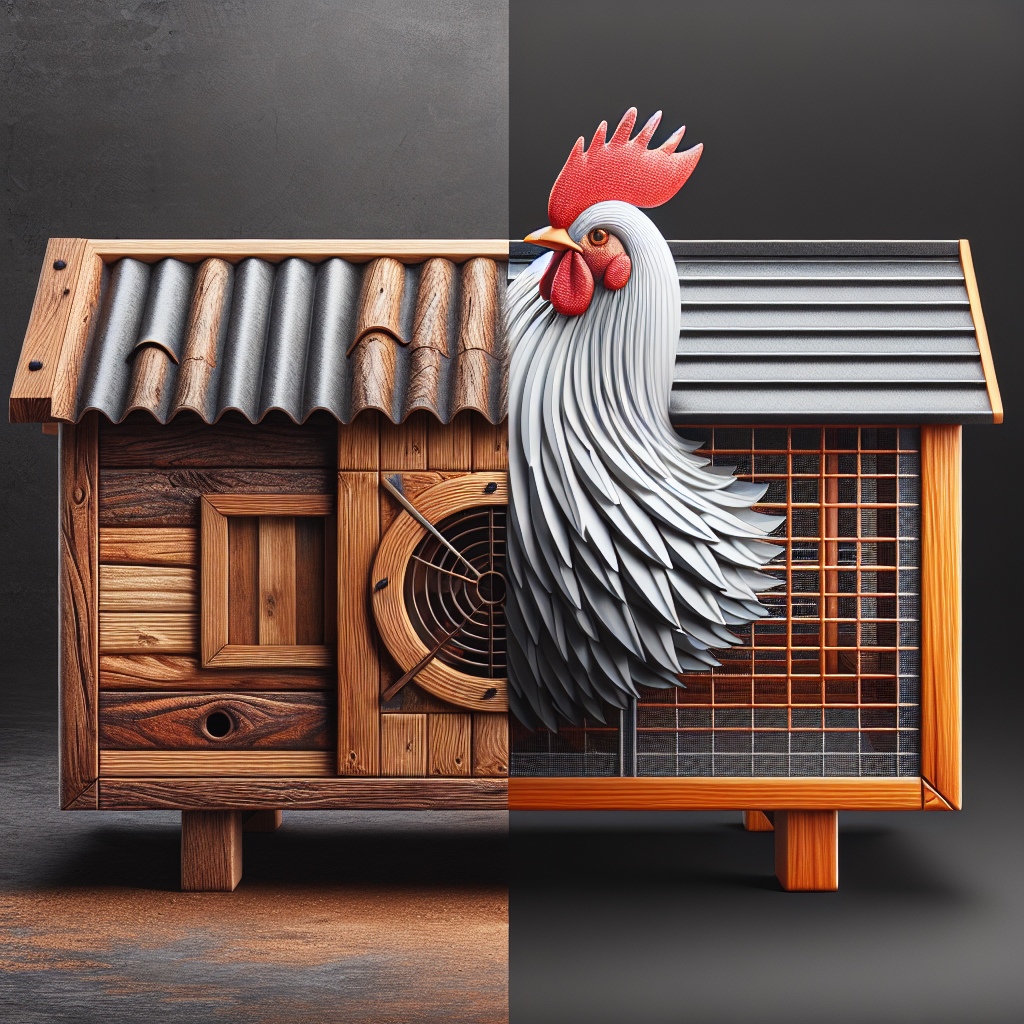
Proper ventilation is crucial for maintaining a healthy and moisture-free environment within your wooden coop. Without adequate airflow, condensation can accumulate, leading to a damp and potentially harmful environment for your birds. Installing vents, such as windows with adjustable openings or purpose-built ventilation systems, allows for the exchange of air and helps remove excess moisture. Place vents strategically throughout the coop to promote air circulation and prevent the build-up of moisture and stale air.
Avoiding Moisture Traps
When designing your wooden coop, it’s essential to avoid creating moisture traps that can lead to condensation and water damage. Moisture traps occur when there is inadequate airflow or insulation, causing moisture to accumulate in certain areas. To prevent this, avoid using materials that can trap moisture, such as untreated or damp wood. Additionally, ensure that bedding materials, such as straw or shavings, are regularly replaced to prevent them from becoming saturated and retaining moisture. By eliminating moisture traps, you can maintain a dry and comfortable environment for your birds.
Using Proper Insulation
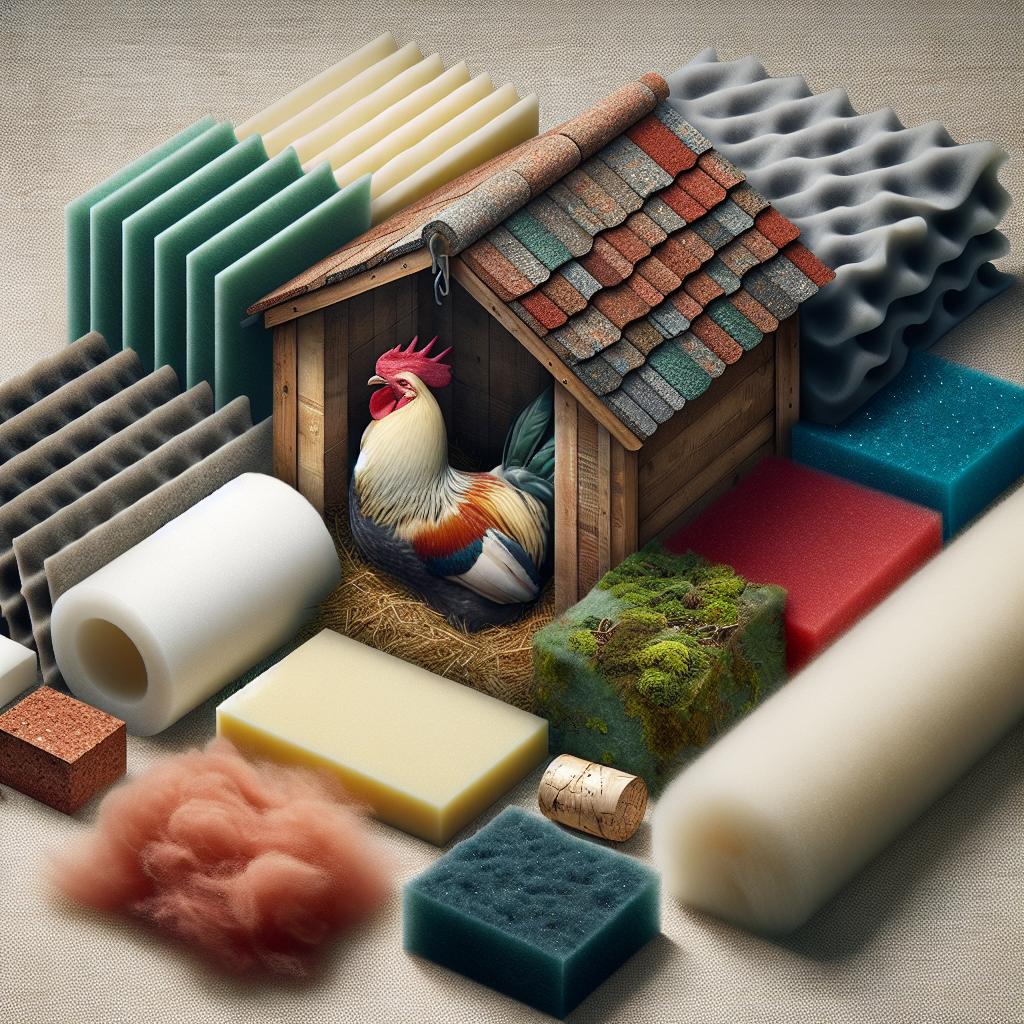
Insulation plays a crucial role in controlling temperature and moisture levels within your wooden coop. Proper insulation helps regulate the internal climate, reducing the risk of condensation and excessive moisture. Consider using insulation materials that have moisture-resistant properties, such as closed-cell foam or fiberglass insulation. Make sure to insulate the walls, roof, and floor of the coop to create a well-insulated barrier against external temperature fluctuations and moisture accumulation. Good insulation combined with proper ventilation will ensure a comfortable and healthy environment for your birds.
Preventing Ground Contact
Choosing Elevated Locations
Selecting an elevated location for your wooden coop is an effective way to prevent ground contact and minimize the risk of water damage. Choose a spot that is well-drained and situated on higher ground to avoid pooling water during heavy rain. Building your coop on an elevated platform or using sturdy legs can further elevate it above the ground, creating a barrier against moisture. By preventing ground contact, you can significantly prolong the lifespan of your coop and prevent rot caused by excessive moisture.
Using Concrete Footings
To provide additional stability and prevent ground contact, consider using concrete footings for your wooden coop. Concrete footings act as a solid foundation, elevating the coop above the ground and creating a barrier against moisture. This helps prevent wood rot caused by direct contact with the soil and reduces the risk of pest infestation. When constructing your coop, ensure that the footings extend below the frost line to prevent shifting and damage caused by freezing and thawing cycles.
Using Gravel or Stone Base
Another option to prevent ground contact and promote effective drainage is to build your coop on a gravel or stone base. This provides a stable and well-draining surface for the coop, preventing water from pooling and seeping into the wood. Use a layer of crushed gravel or stones as a base, ensuring that it is leveled and compacted properly. This base will help maintain the structural integrity of the coop and prevent moisture-related issues, such as rot and decay.
Regular Cleaning and Maintenance
Removing Debris and Droppings
Regular cleaning is essential for preventing water damage and maintaining the overall hygiene of your wooden coop. Clean out debris, such as leaves, twigs, and dirt, on a routine basis to ensure that water can freely drain away from the coop. Remove any accumulated droppings from the coop’s interior and nesting boxes, as these can create a moisture-rich environment that promotes bacterial growth and odors. By keeping the coop clean and free from debris, you reduce the risk of water-related issues and create a healthier living space for your birds.
Inspecting and Repairing Damaged Areas
Regular inspections of your wooden coop are crucial for detecting and addressing any potential issues before they escalate. Inspect the exterior and interior of the coop, paying close attention to areas that are prone to water exposure, such as joints, edges, and corners. Look for signs of rot, decay, or damage, and address them promptly. Repair any damaged areas by replacing or reinforcing the affected wood. By staying proactive in your maintenance efforts, you can prevent water damage from worsening and ensure the longevity of your coop.
Reapplying Coatings
Over time, the protective coatings on your wooden coop may wear down due to weather conditions and constant exposure to moisture. Regularly assess the condition of the paint or stain and reapply as necessary to maintain optimal water resistance. Follow the manufacturer’s guidelines for proper preparation, application, and drying times. By regularly reapplying coatings, you can prolong the lifespan of the wood, prevent rot, and maintain the overall appearance of your coop.
Using Protective Hardware
Stainless Steel or Galvanized Nails
When constructing or repairing your wooden coop, it’s essential to choose the right hardware that can withstand exposure to the elements. Using stainless steel or galvanized nails for joining and securing the wooden components ensures long-term durability and resistance to corrosion. These types of nails are specifically designed to withstand outdoor conditions, including moisture and humidity. By using high-quality nails, you can ensure that your coop remains structurally sound and free from potential water damage caused by rust or degradation.
Rust-resistant Screws or Bolts
In addition to nails, using rust-resistant screws or bolts is advisable for areas that require a stronger and more secure fastening. Rust-resistant screws or bolts made from materials such as stainless steel or galvanized steel can withstand the rigors of outdoor exposure and resist corrosion. When selecting screws or bolts, ensure they are of the appropriate size and length for the specific application. By using high-quality, rust-resistant hardware, you can maintain the structural integrity of your coop and prevent water damage caused by deteriorating fasteners.
Non-corrosive Latches and Hinges
When it comes to securing the doors and windows of your wooden coop, choosing non-corrosive latches and hinges is essential. These components are constantly exposed to moisture, so using materials such as stainless steel, brass, or UV-resistant polymers ensures their longevity and functionality. Non-corrosive latches and hinges are more resistant to rust and degradation, reducing the risk of failure and water infiltration. Regularly inspect these hardware items for any signs of wear or damage and replace them promptly if necessary to maintain the security and water-resistance of your coop.
Covering Windows and Openings
Installing Proper Window Screens
Windows and openings in your wooden coop can be vulnerable points for water infiltration and pest entry. Installing proper window screens that are tightly fitted can help prevent pests, such as rodents and insects, from gaining access to the coop. Additionally, these screens can act as a barrier against rainwater and debris while still allowing for adequate ventilation. Choose screens made from durable materials that can withstand outdoor exposure and ensure they are securely installed to effectively protect your coop from water damage and unwanted intruders.
Using Weatherproof Exterior Covers
In areas where extreme weather conditions are common, it may be beneficial to use weatherproof exterior covers for windows and openings. These covers, such as storm shutters or removable panels, provide an extra layer of protection against wind-driven rain and other elements. When not in use, securely fasten the covers to prevent them from becoming dislodged and causing potential water damage. By utilizing weatherproof exterior covers, you can enhance the water-resistance of your wooden coop and prolong its lifespan.
Sealing Gaps and Cracks
It’s important to regularly inspect and seal any gaps or cracks around windows, doors, and other openings in your wooden coop. Gaps can allow water to seep in and cause damage, while also providing entry points for pests. Use high-quality caulking or sealant to fill these gaps, ensuring a tight seal and effective water resistance. Regularly inspect these areas for any signs of wear or deterioration, and reseal as necessary to maintain the integrity of your coop’s structure.
Upholding Electrical Safety
Using Waterproof Electrical Components
If your wooden coop includes electrical components, it’s crucial to prioritize safety and water resistance. Ensure that all electrical components, such as outlets, switches, and wiring, are designated for outdoor or wet locations. These components should have a minimum IP rating of IP65 to ensure their waterproof properties. Additionally, use waterproof junction boxes and covers to protect electrical connections and wiring from moisture. Regularly inspect and maintain the electrical system, replacing any damaged or deteriorated components promptly to prevent electrical hazards and water damage.
Proper Grounding and Wiring
To further enhance electrical safety and prevent water damage, ensure that your coop’s electrical system is properly grounded. Proper grounding provides a path for electrical currents in the event of a fault and reduces the risk of electrical shock or fire. Consult with a qualified electrician to ensure that your coop’s electrical system meets local electrical codes and regulations. Additionally, use proper wiring methods, such as conduit or armored cable, to protect the electrical wiring from water exposure. By prioritizing proper grounding and wiring techniques, you can maintain a safe and water-resistant electrical system for your coop.
Regular Inspection and Maintenance
Regular inspection and maintenance of your coop’s electrical system are vital for ensuring its safety and water resistance. Schedule routine check-ups to identify any signs of wear, damage, or water intrusion. This includes inspecting junction boxes, outlets, switches, and wiring for any signs of corrosion, degradation, or exposed wires. Promptly address any issues by replacing damaged components and repairing or rerouting damaged wiring. By prioritizing regular inspections and maintenance, you can prevent potential electrical hazards and mitigate the risk of water damage.
Monitoring and Controlling Moisture
Using Hygrometers and Moisture Barriers
Monitoring and controlling moisture levels within your wooden coop is crucial for preventing water damage and maintaining a healthy environment. Using hygrometers, which measure humidity levels, can help you identify areas where moisture may be accumulating. Place hygrometers in different areas of the coop to ensure a comprehensive understanding of the moisture levels. Additionally, installing moisture barriers, such as vapor barriers or moisture-resistant insulation, can help control the amount of moisture that enters the coop. By monitoring and controlling moisture effectively, you can prevent excessive humidity and the associated risks of condensation and rot.
Controlling Humidity with Bedding and Ventilation
Controlling humidity levels within your wooden coop can be achieved by using appropriate bedding materials and ensuring proper ventilation. Choose bedding materials that have good moisture-absorbing properties, such as pine shavings or straw. Regularly replace damp or soiled bedding to prevent excess moisture from accumulating. Proper ventilation, as discussed earlier, helps remove excess moisture and reduce humidity levels. By managing bedding and promoting good ventilation, you can control humidity and minimize the risk of excessive moisture that can lead to rot and water damage.
Detecting and Addressing Moisture Issues
Regularly inspecting your wooden coop for signs of moisture-related issues is crucial for preventing water damage and preserving the integrity of the structure. Look for signs of condensation, mold, or dampness on surfaces and within the coop’s interior. Address any signs of moisture issues promptly by identifying and rectifying the underlying causes. This can include improving ventilation, repairing leaks, or strengthening weatherproofing measures. By detecting and addressing moisture issues early on, you can prevent water damage and create a healthier and more comfortable living environment for your birds.


