Maintaining cleanliness and hygiene in your coop is crucial for the overall health and well-being of your poultry. Regular coop maintenance plays a vital role in achieving this, as it helps prevent the buildup of dirt, waste, and potentially harmful bacteria. By regularly cleaning and disinfecting your coop, removing soiled bedding, and providing proper ventilation, you can create a safe and healthy environment for your feathered friends. In this article, we will explore some practical tips to ensure cleanliness and hygiene through regular coop maintenance, helping you keep your chickens happy and thriving.
Regular Cleaning
Scheduling and Frequency
Regular cleaning is essential to maintain cleanliness and hygiene in your chicken coop. By establishing a cleaning schedule, you can ensure that the coop remains a healthy and comfortable environment for your chickens.
It is recommended to clean the coop at least once a week to remove any accumulated dirt, droppings, and potentially harmful bacteria. However, the exact frequency may vary depending on the size of your coop, the number of chickens, and the climate in your area.
Make sure to allocate enough time for the cleaning process. Clear your schedule and choose a day when you can dedicate sufficient attention to the task. By being consistent with your cleaning routine, you can prevent the buildup of contaminants and promote a healthier living environment for your chickens.
Cleaning Tools and Supplies
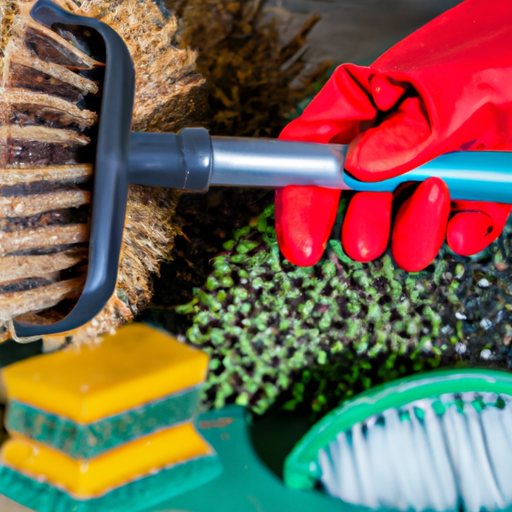
To effectively clean your chicken coop, you will need the necessary tools and supplies. Here are some essential items you should have:
- Sturdy gloves: Protect your hands from any potential hazards or contaminants.
- Shovel or rake: Use these tools to remove bedding, droppings, and any debris from the coop floor.
- Broom or brush: Sweep away cobwebs, dust, or dirt from the coop walls, surfaces, and nesting boxes.
- Scrub brush or sponge: Use these items to scrub down the walls and surfaces of the coop to remove stubborn dirt or grime.
- Cleaning solution: Choose a mild, non-toxic cleaner that is safe for your chickens. Avoid using harsh chemicals that may harm your birds.
- Water hose or bucket: Use water to rinse the coop and ensure cleanliness.
- Wheelbarrow or compost bin: Dispose of the waste materials properly by transferring them to a compost bin or using a wheelbarrow to transport them.
By having these essential tools and supplies ready, you can efficiently clean your coop and maintain its cleanliness.
Cleaning Procedures
When it comes to cleaning your chicken coop, it is important to follow the proper procedures. Here are the steps you can take to effectively clean your coop:
-
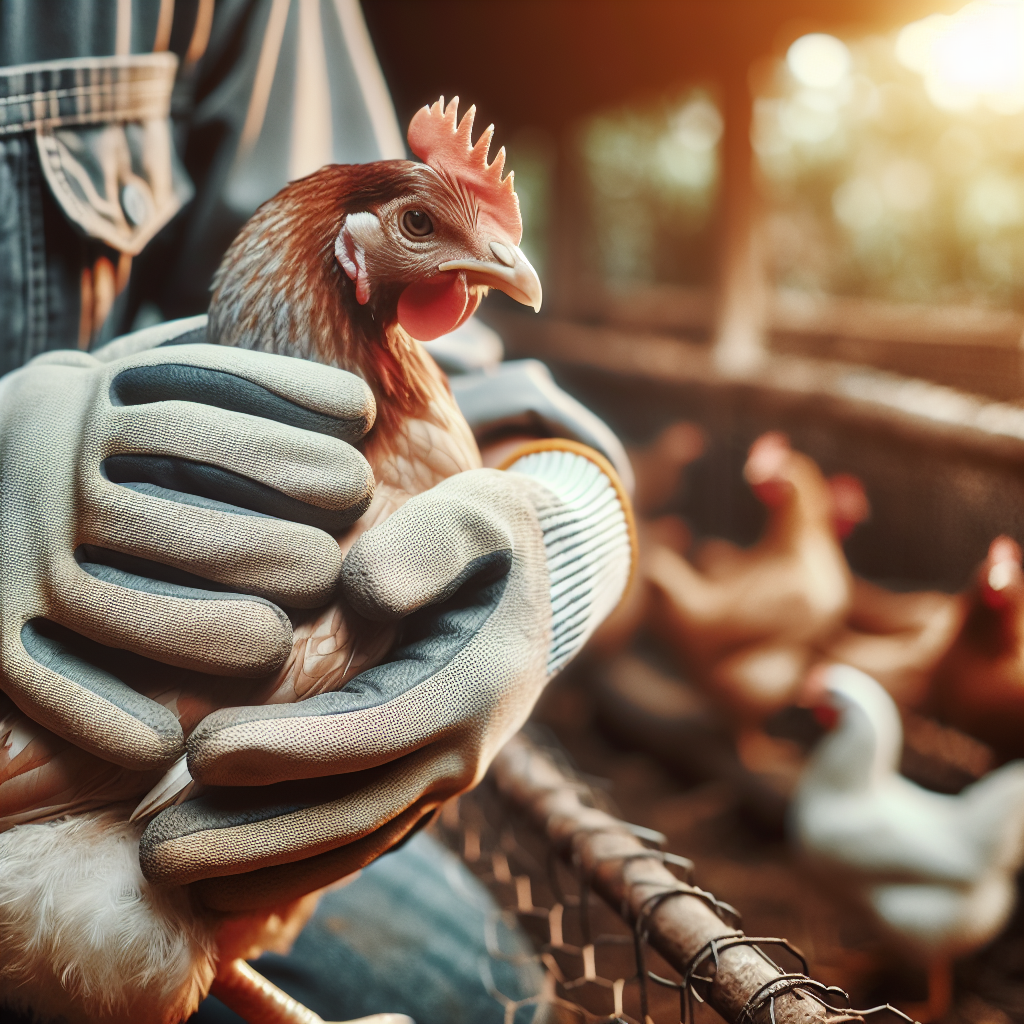
Remove the chickens: Ensure the safety of your chickens by temporarily relocating them to a secure space. This will prevent them from interfering with the cleaning process and reduce the risk of injury.
-
Remove bedding and droppings: Use a shovel or rake to remove the bedding material, droppings, and any debris from the coop floor. Dispose of these materials properly, as we will discuss in the next section on waste management.
-
Scrub the coop: With the chickens removed and the floor cleared, scrub down the walls, surfaces, and nesting boxes using a mild cleaning solution and a scrub brush or sponge. Pay attention to corners, crevices, and areas where dirt tends to accumulate.
-
Rinse with water: After scrubbing, rinse the coop thoroughly with water to remove any residue of the cleaning solution. This step is crucial to ensure that no harmful chemicals are left behind, which may be detrimental to your chickens’ health.
-
Allow the coop to dry: Once you have completed rinsing, allow the coop to dry before adding new bedding. Proper ventilation will aid in the drying process and help prevent the growth of mold or mildew.
-
Add fresh bedding: Once the coop is fully dry, spread fresh bedding material such as straw, wood shavings, or sawdust on the floor. This will provide comfort and insulation for your chickens.
By following these cleaning procedures regularly, you can maintain a clean and hygienic chicken coop, promoting the health and well-being of your feathered friends.
Proper Waste Management
Handling Droppings
Proper waste management is a crucial aspect of coop maintenance that ensures cleanliness and hygiene. Chicken droppings, if not addressed promptly, can attract pests, create foul odors, and contribute to the spread of diseases. Here are some tips for handling droppings:
-
Daily spot cleaning: In addition to regular cleaning, it is advisable to perform daily spot cleaning to remove any fresh droppings from the coop floor. Use a shovel or rake to collect the droppings and dispose of them properly.
-
Use absorbent bedding: Choose bedding materials that are absorbent, such as straw, wood shavings, or sawdust. This helps in absorbing moisture and reducing the odor associated with chicken droppings.
-
Employ droppings collection methods: You can also use methods like droppings boards or trays placed under the roosting bars to collect droppings more easily. These boards can be cleaned regularly or lined with absorbent materials that can be removed and replaced.
Disposal of Coop Bedding and Litter
Proper disposal of the coop bedding and litter is essential to prevent the spread of diseases and maintain a clean environment. Here’s how you can dispose of them responsibly:
-
Composting: One of the most eco-friendly methods of handling coop bedding and litter is composting. Chicken manure, along with bedding materials, can create nutrient-rich compost that can be used in your garden or flower beds. Ensure the compost pile reaches high temperatures to kill any potential pathogens.
-
Municipal waste collection: If composting is not an option for you, check with your local municipality for specific guidelines on disposing of chicken coop waste. They may have designated bins or collection points for animal waste.
-
Avoid direct contact with edible plants: When applying compost made from chicken waste to your garden, avoid direct contact with edible plants. The compost should be used on non-edible areas or be given enough time to decompose fully before using it in vegetable or fruit gardens.
By properly managing and disposing of coop bedding and waste, you can prevent the buildup of contaminants and promote a cleaner and healthier environment for your chickens.
Composting
Composting is not only a responsible method of waste disposal but also a valuable way to recycle nutrients and improve soil fertility. When done correctly, chicken droppings, along with the bedding materials, can be transformed into nutrient-rich compost that benefits your garden. Here are some steps to effectively compost coop waste:
-
Collect the waste: Collect droppings, soiled bedding, and any other organic materials from the coop. Avoid adding materials like meat, bones, or dairy products, as they can attract pests.
-
Create a compost pile: Choose an appropriate location for your compost pile or bin. Ideally, it should be placed on well-drained soil with good air circulation. Layer the coop waste with other organic materials, such as leaves, grass clippings, or garden trimmings, to aid in the decomposition process.
-
Monitor moisture levels: It is important to maintain the right moisture level in your compost pile. Aim for a moisture content of around 50 to 60%. If the compost becomes too dry, water it lightly. Conversely, if it becomes too wet, add dry bedding or leaves to absorb the excess moisture.
-
Turn the compost: Regularly turn the compost pile to promote decomposition and ensure all materials are adequately exposed to oxygen. This will accelerate the breakdown of the waste and speed up the composting process.
-
Allow for proper decomposition: Depending on factors such as temperature and the materials used, the composting process can take several months to a year. Be patient and periodically check the compost pile for progress.
-
Use mature compost: Once the compost has fully decomposed and resembles dark, crumbly soil, it is ready to be used in your garden. Apply it as a fertilizer or soil amendment to nourish your plants and enhance their growth.
By composting your chicken coop waste, you not only reduce waste going to landfills but also create a valuable resource for your garden. Remember to maintain a proper balance of green and brown materials and provide optimal conditions for decomposition.


